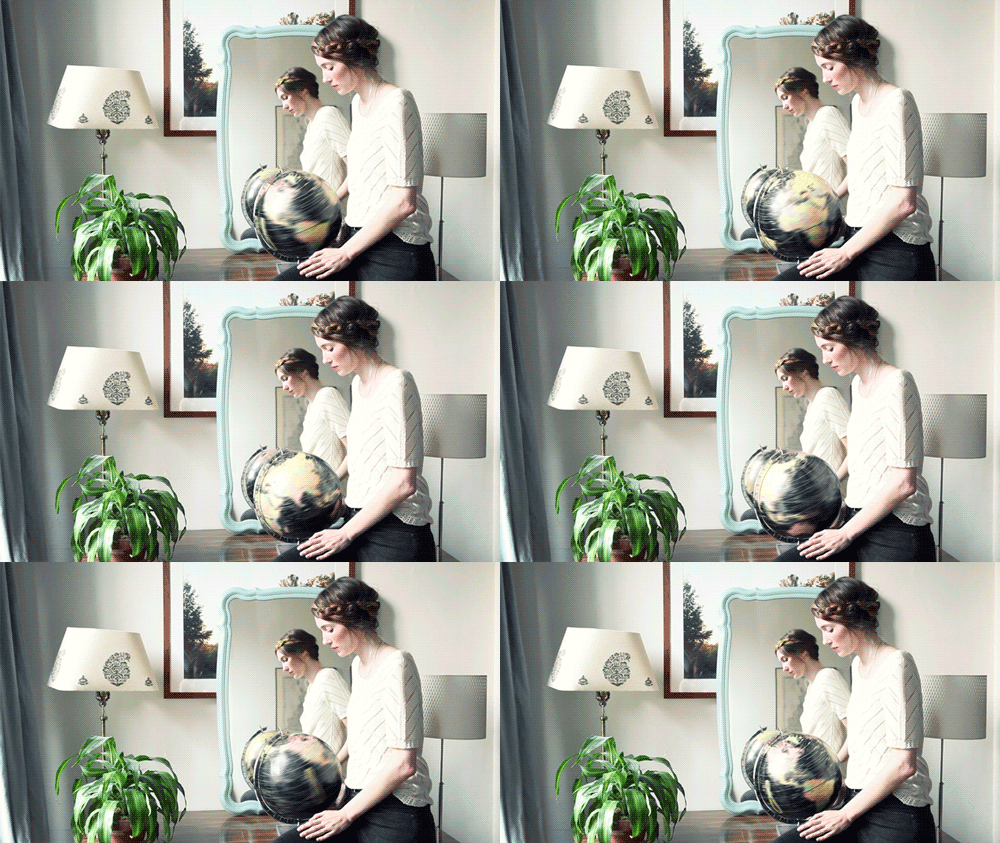
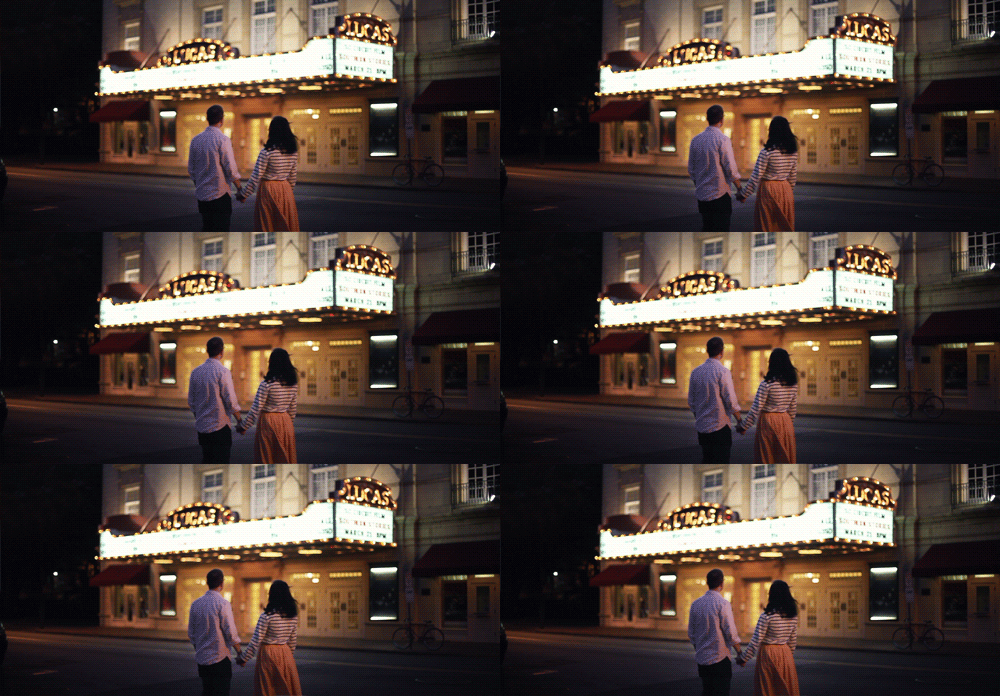
Modern photo-editing tools allow for digital effects unimaginable in the analog photography world. One effect growing popular online is the cinemagraph, a perpetually moving image that creates a mesmerizing quality that can transform an everyday scene into something much more captivating.
The effect is far from complicated to produce too, and likely you already have a video that can be manipulated into a quality cinemagraph. Here are eight easy steps to creating a cinemagraph in Photoshop.
What is Cinemagraphy?
Cinemagraphy is technique that selectively causes some parts of a photograph to move. It’s not quite video, not quite still photography. It’s uniquely oriented towards web use.
The technique used to create a cinemagraph relies on combining multiple images of moving subjects with a static background and/or foreground. It creates a dynamic image where part is moving while the rest remains static. The creative possibilities are endless. Cinemagraphs have the potential to spice up web images with moving photographs for advertisements, e-commerce, etc.
The output will be an animated .GIF file. Here is an example of a final result:

How to Create a Cinemagraph
There are a few quicker methods available if you aren’t too concerned about making a high-quality cinemagraph. There are a few free smartphone apps that can whip out a cinemagraph from a video in just a few seconds. If you’re on the go or don’t have access to Photoshop, these provide a decent backup option.
To make a cinemagraph, you need a video that’s a couple of seconds long It should be shot in a way so that it is possible to make a loop of an isolated part of the image that is intended to move.
The Photoshop Method
For those that want to create cinemagraphs that can stand alone as detailed works of art, Photoshop is the only true option. Although there’s no automated one-step system built into the Adobe photo editor, the process is fairly painless.
Find your video
You’ll only need a few seconds of video from any camera that takes video. The most important tool you’ll need here (aside from a camera, of course) is a tripod. In order to produce this effect, a perfectly still frame is needed. You can get creative with the subject matter: a sprawling landscape can work just as well as a close up of a couple small objects. Just keep in mind that you’ll want something that appears to loop to create the impression of perpetual motion, so repetitive movement (an object swaying, ocean waves, etc.) will be ideal. For this tutorial, we’ll use this field of grass blowing in the wind.
Import to Photoshop
File–>Open–>Select your Video File. The video file should also appear in your Timeline panel at the bottom of the screen.
Shorten your Video
We’ll only need to work with a couple seconds of video as our final product (this keeps our file size manageable). Using the brackets on the sides of the video preview file in the Timeline Panel, shorten it to just 2 to 8 seconds.

Loop the Video
In the Timeline panel, hit the playback options button (the circular gear icon), and hit loop. Now when you hit play, your video should be on a continuous loop, but it probably looks choppy. That’s because we haven’t frozen a portion of the frame yet.
Identify the Base Image
The first step in freezing part of the frame is to select a still frame from your looping video clip above to serve as the top layer. This image will be partially frozen, with the moving parts of the image shown in the video segment you just created. Once you’ve identified your still frame, hit Command+A, then Shift+Command+C, then Shift+Command+V. This will create a new layer as your image.
Overlap the Image and the Video
On the right side of your Photoshop screen, you’ll see a Layers panel where your Layer One video and Layer Two still image are shown. Click on Layer Two in the Layers panel and drag it down to the gray area below. This will turn Layer Two into its own separate layer, as shown in the Timeline Panel.
Align the Image and Video
Now in the Timeline Panel, drag your Layer Two image above the Layer One video file, which will make it your top layer. Adjust the duration of the image so that it’s exactly as long as the Layer One video. Now when you hit play, the only the still image should show (i.e. there shouldn’t be any movement).
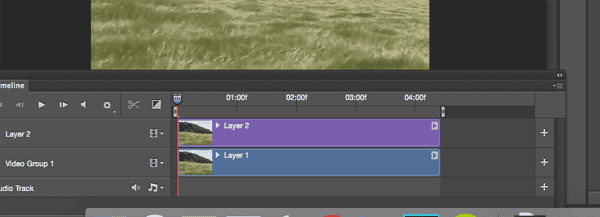
Add a Layer Mask
This is the most important step in creating the cinemagraph, and unfortunately it’s often the most time consuming. Creating a layer mask will make a portion of the still image (Layer 2) transparent, allowing the moving Layer 1 to show through. It sounds complex, but the process is easy.

Creating the Mask
First, in the Layers panel, click Layer Two, then at the bottom of the panel, click the circle inside the rectangle (the Create Layer Mask button). Now, with your Brush Tool (B), you’ll want to brush over the portion of the image you want moving. For the grass field image shown below, I wanted only the field blowing, and the trees and the sky to remain still. Because of this, I painted only over the field.
Note: Hit the slash key above the return button to have your brushing turn red, making it more visible.

Export Your Cinemagraph
Now with the motion of the Layer 1 video showing through, your loop should look like a Cinemagraph! To export it, hit File–>Save to Web, then a dialogue box with your image should appear. There are a few settings you want to check here to optimize the gif and file size:
- File Type: set to GIF
- Change “No Dither” to “Diffusion”
- Image Size: The more you cut this down, the faster your gif will load. I wouldn’t recommend having either the width or height larger than 1000 pixels.
- Hit “Preview” to see how your gif will load and appear on the web.
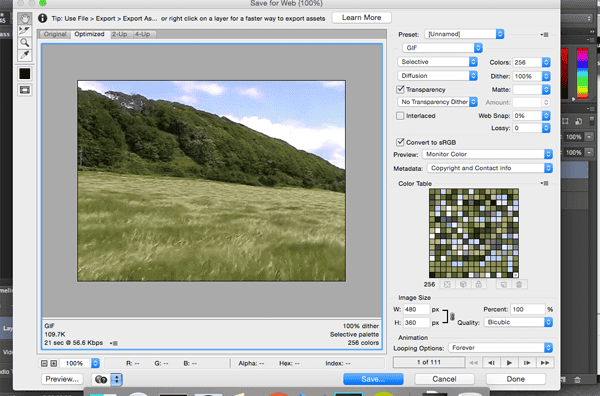
Now, once you hit save, you can put the GIF file on your desktop, drag it into your web browser, and congratulations, you’ve just made your first cinemagraph!

Here are some more cinemagraphs. Good luck in making your own cinemagraphs.
