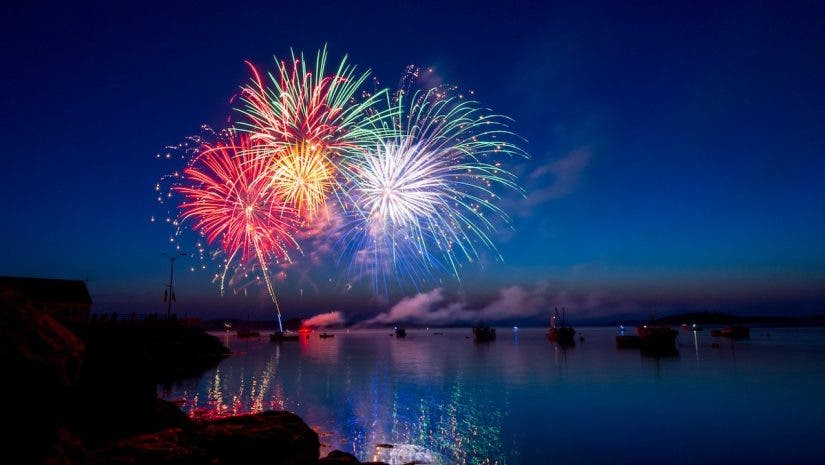
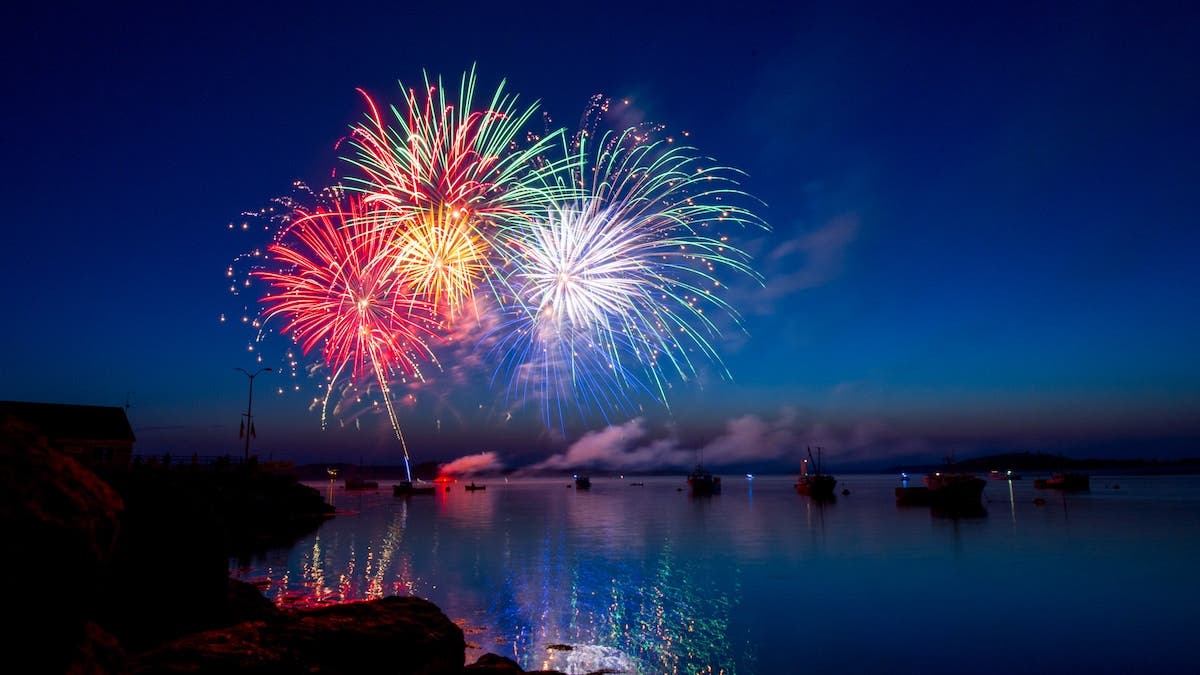
The explosive bursts of color, the shimmering trails of light against the night sky – there is so much to capture in fireworks photography. Yet, mastering the art of photographing fireworks can be a challenging task. It requires a delicate balance of technical know-how and artistic vision. In this guide, we will unravel the secrets behind creating stunning firework photographs, revealing tips, techniques, and equipment suggestions to help you better photograph fireworks.
To ensure success, make a checklist:
That’s pretty much the photo kit. What else to think of? Rain gear — both for cameras and yourself. You can get fancy rain gear designed for cameras and lenses, or just use plastic bags and baggies. Grab a couple of bungee cords to keep the bags on the camera if the wind starts whipping about.
It’s also smart to bring water and power bars since you may be out there a while. Bug repellent and comfortable shoes will also come in handy. And, unless you are one of those incredibly lucky individuals who might have a cool, local fireworks display going on that is visible from your own backyard, bring Advil. (Advil is always on my equipment list.)
What to Do Before Photographing Fireworks
Anything to do beforehand? You bet. Scout the location. Best to know what you are getting into, where they shoot the fireworks from, what the background will be like. How big will the display be? How long will it go for? Most fireworks displays are over in a half hour or less. If you are stumbling around in the crowd looking for a spot and trying to set up in the dark, you’ll just be starting to make decent exposures as they light up the sky with the crescendo and say goodnight until next year.
That’s right, next year. Most big fireworks are yearly events. Argh, the pressure!
Go scout. Get your spot. Get there early. I mean, early. Like, be the first car in the parking lot. Pack a soft cooler sling bag, throw an icepack in there, and know that in that bag is your sustenance until maybe late at night. For jobs like this, my iPhone and headphones are a must. A collapsible chair and a small waterproof tarp are excellent ideas. Think your way into this. What could go wrong? It’s a photo shoot, so the answer to that is, just about everything. Try to ensure success by envisioning the shot and the potential problems in making the shot before you walk out the door.
Like, do you need a permit to put your tripod down? Did you have to call the town about this adventure? Most likely not, but it might be worth a phone call.
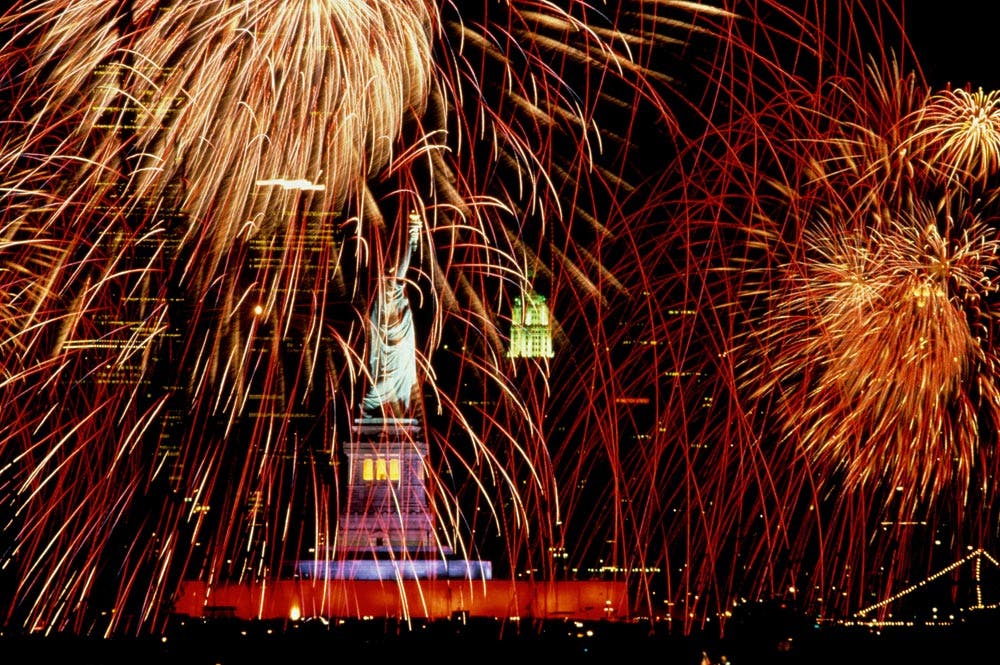
How to Capture the Fireworks
Framing
Now that you’re prepped and ready, it’s time to frame up the shot. This is a bit trickier than you might think. First off, when I shoot fireworks, I always get my frame, plus about 20 percent. I can always tighten up, but I want to give those fireworks room to play up there in the heavens. If your frame is too tight, you’ll have tracer lines of color going right out of the upper part of your picture, creating lines of interest that will pull your viewer’s eye right out with them.
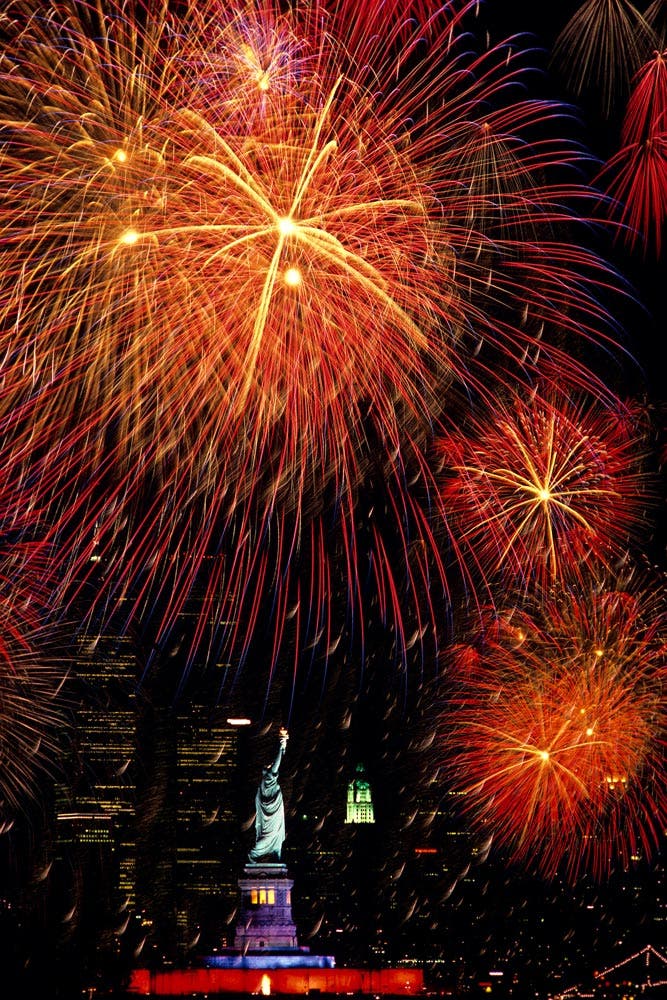
Give those hot lines of color room to breathe and explode, scatter up there in the heavens, and determine whether the shot is horizontal or vertical. Remember that most fireworks photos, if they are just of the explosions in the sky, are, at the end of the day, an exercise in color. Even something as splashy as a pyrotechnic display needs context. Perhaps you can frame up with the object that is being celebrated, such as the Statue of Liberty. Or use the semi-silhouetted crowd as a foreground element. Or boats and bridges out in the water, with the water acting as a giant reflector board filled with color.
The variations that may occur with your framing are the reason to have at least a couple lenses with you. Two reasonable zooms — one wide and one telephoto — should do you fine.
Focusing
After framing, focus. Again, manual is the way to go here. I mean, AF systems are so good now, you can wait for initial explosions in the sky, and let the camera’s AF grab them, then lock down on manual. Or, preferably, you have done the scout and know where the fireworks will scream skywards in your scene, and it’s most likely pretty much infinity focus. Rack the lens out, then pull it back a tic. Confirm your selection with your focus confirm signals in your viewfinder. Find an edge or piece of contrast that that the focus system on the camera likes, and then just lock it down. Take some gaffer tape, just a couple small stitches, and tape the focus barrel. Done. You are sharp and locked for the evening.
Okay, now set up in manual. Fireworks are brighter than you might think, so you don’t need to open the lens really wide, which is a bit counter-intuitive, I know, ’cause it’s dark. But my experience with fireworks wide open is that you drain the color out of them. They’ll just register as a white streak. Be careful. You can over-expose fireworks quite easily.
Aperture
F8 is a reasonable starting point. Some photographers go even lower on the aperture scale, down to f11 or even f16. Over time, you will find which settings work for you. I used to take notes at the end of a fireworks job, just to keep myself tuned up for next year. There’s no real need for that anymore, as the metadata tells you what works and what doesn’t.
Shutter Speed
Set the shutter to bulb. This mode keeps the shutter open as long as the release button is pushed. But you are not physically pushing that button are you?! No! This is absolutely a job for a cable release. Nowadays, most cable releases are simply electric cables which jack into the camera and activate the shutter. When you punch the button on the cable release the shutter is at your command, on bulb, it will stay open as long as you want. And, very significantly, the button you are pushing is not on the camera or the tripod. With lengthy exposures, even the slightest jiggle or vibration is the enemy. Technology of course is racing ahead, and there are now all manner of infrared and radio triggers out there, obviating the need for contact with the camera.
This is important, because at f8, the shutter will be open for a while, meaning anywhere from four to 10-15 seconds. Remember if you have a foreground element in the picture, such as a monument, you have to make sure that lit up monument is exposed properly. In many ways, that foreground object will determine the length of your exposure.
Staying Stable
Even if you don’t touch the camera, it is still subject to shake, potentially. Wind can cause some trouble, for sure, especially if you are using a longer lens. Keeping your eye pressed to the viewfinder can cause a bump or two. Here is where cameras with a “live view” function and a tilting LCD are incredibly handy. You can angle that little TV screen out and up to your eyes, without having to push your head anywhere near the camera.
And, no surprise — you need a good tripod. Solid. I use a 5-section series 4 Gitzo Systematic. It has good height, and the five sections mean it collapses nicely for transport. The 3-way head is also perfect for this kind of shooting, giving you precise control. The levers are retractable, meaning the head maintains a small footprint. You eliminate the risk of bumping an extended handle or snagging it with your clothing.
Metering
Metering? Yikes, how do you meter a fast-moving rocket moving through the black sky? The answer is, you don’t, really. This is a situation to shut off a bunch of the auto this and that on the camera, and go manual. Also, make sure to turn the flash off. Some cameras will read the darkness in in certain modes and activate that puppy. Ever see the opening of an Olympics, where thousands of people are using point and shoots, and their flashes are going off like crazy? Know what they’re lighting? The shoulder of the person in front of them. Fireworks, unless you are trying a radically different approach, are generally a no-flash zone.
ISO
Again, due to the brightness of fireworks, you can work at a reasonable or even low ISO. Something in the neighborhood of 100 or 200 will do fine. The faster your ISO, the shorter your shutter speeds, which will deprive you of recording those wonderful tracers of light into the sky.
Some shooters time the launch of the rockets and open the shutter accordingly, keeping it open for, say, 8-10 seconds, then closing down. This ensures that they will record the path of the pyrotechnic into the night sky, and its explosion. This is a fine approach. Give it a try.
Using a Black Index Card
Others use a black card. A black card is just that — a black card. It can be a piece of black cardboard, or foam core board. Or it can just be an index card covered with black tape. Just be sure it is not shiny tape. That might pick up slivers of light and reflect it back into the lens. Use a matte black type of photo tape, often called gaffer tape.
This way, you can keep your shutter open for very lengthy periods and record multiple starbursts. You open the shutter, and shoot one explosion, then cover the lens with the card, and wait for the next. Experiment with this trick. You’ll produce really terrific results, layering multiple fireworks into one picture.
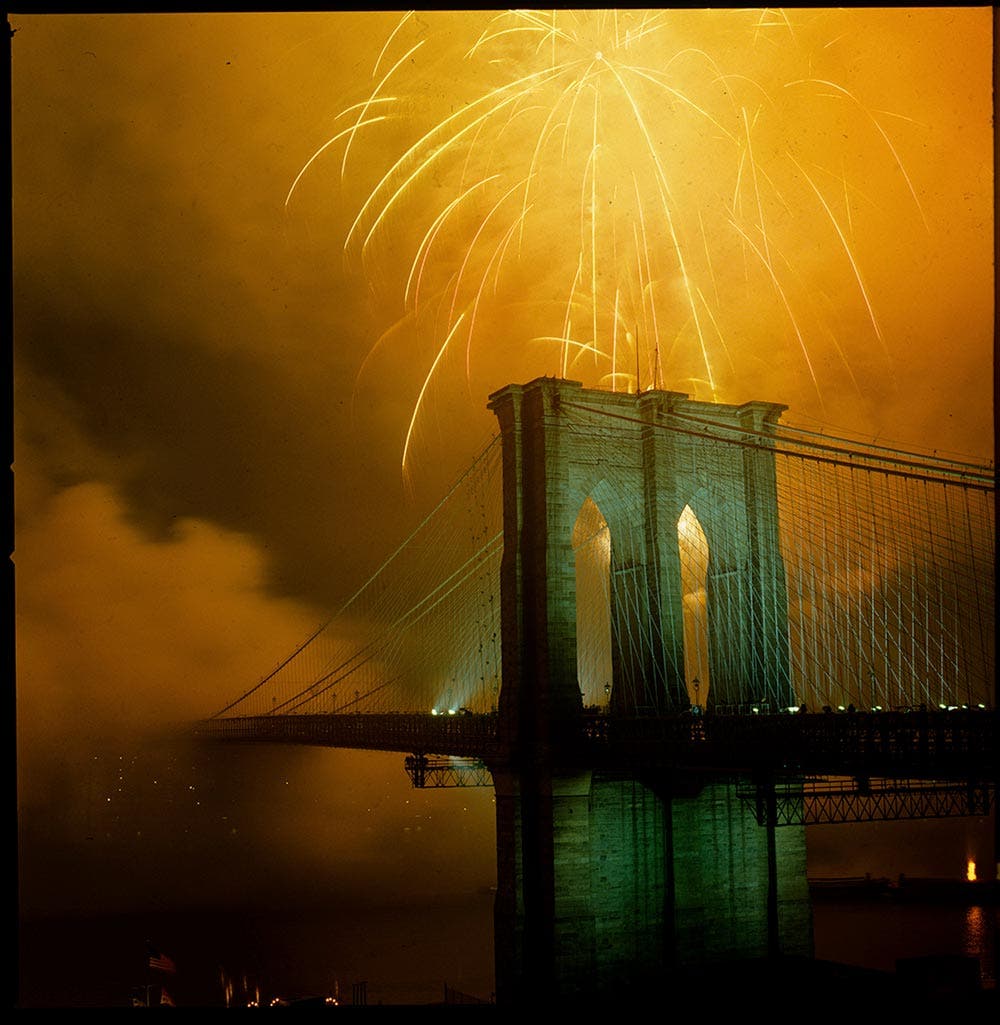
Also, say, you have the Brooklyn Bridge as an architectural element in the foreground, and the proper exposure for it is f8 at 10 seconds. This limits your fireworks shooting range, right? With the black card, if you are quick enough, you can uncover just the upper portion of the sky, while blocking the area of the lens which is recording the bridge. This is dicey. You have to move the card quickly, hovering it around where the bridge ends and the sky begins. If you have ever made a black and white print in the darkroom, think of this as burning and dodging right at the camera lens.
You can’t keep the card static or it will create a hard line of obvious exposure change. It has to hover, quickly jiggling around that sky bridge borderline. If you pull this off right, you can keep your lens open for several batches of fireworks, extending over 20-30 seconds, filling the sky with color. But, remember, this is an experiment! Back yourself up by shooting some “straight” frames.
Avoid Noise with Long Exposures
At the beginnings of the digital rage, this technique was a bit problematic because seriously lengthy exposures produced a lot of digital noise. The longer the shutter is open, the longer the chip is “on” building up heat with every passing second. That sensor heat would really fray away at the quality of the digital file you would be trying to produce. Bad news. Long time exposures were the Achilles heel of early digital cameras.
Predictably, advances in digital camera technology have smoothed out a lot of those problems, but it is wise to experiment with your particular model and see what its tolerances are. As you might suspect, the higher-end models handle long exposure well, while the more basic cameras will have limitations. Get to know what your camera is capable of. In many current cameras, you can turn on a function called “long exposure noise reduction.” This will be hugely helpful.
Or you can embrace the miracle of digital and lay down some baseline exposures of the bridge, or the monument, or whatever is out there. I started my career shooting the iffy process of fireworks photography on Kodachrome. That had its moments, for sure. But now, you can see what you are shooting, so you can stash some “safe” exposures in your camera, and then layer the fireworks over them in post-production.
One Last Piece of Advice
Finally, Don’t shoot all night long at one exposure. (If you are on bulb, you definitely won’t anyway.) But this is an occasion for bracketing and shooting as many frames as possible. Also, shoot right away when they start! Fireworks displays can build up a lot of smoke over a series of explosions, and if you are smack in the wind pattern that blows that smoke towards your lens, you can end up thinking you’re shooting a war zone. Shoot immediately, and fast.
Feature photo from Unsplash
